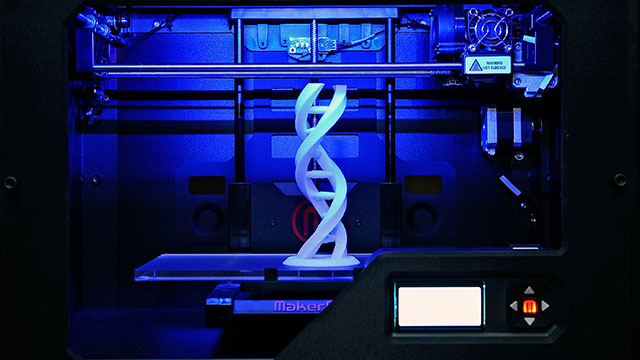
This is the third post of 3D printing for teens! In this weekly series I will share my experience and tips and tricks. The goal for this series is to get more teenagers excited about 3D printing and to help them master the craft.
In advance
In my last post I went over the types of plastic filament that exists. But we soon found out that most of these plastics have a major issue: They can absorb water from the environment. In this post I will share my experience printing with faulty filament and go over preventing and solving it. The plastics to look out for are PETG, Nylon, PC and PC-ABS.
My experience
My first experience printing with PETG was incredible and was I incredibly impressed with the results! Then I had school work and let my printer for about one week. When I wanted to print again my prints with PETG turned into rubbish. I got a lot of stringing and burned spots. I noticed that the properties of the plastic changed into a brittle material and the structure of the print was weak. After hours of trouble shooting I finally found out that PETG absorb water and needs to spend a few hour in the oven to evaporate the absorbed water. After the oven treatment my PETG printed as amazing as before. I will now go over fixing your filament and preventing it from happening.
Solving
Hygroscopic filament (filament that absorbs water) already becomes faulty after one week! When you find out your filament is faulty there are 2 methods to solve your problem.
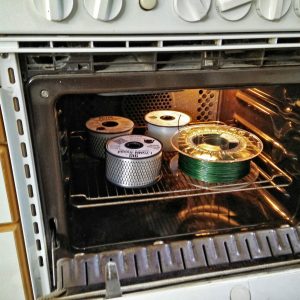
- Throwing your filament in the oven for a few hours. I usually do 80℃ for 4 hours. NOTE don’t set the temperature of the oven over 100℃. There is a possibility you might change the properties of your filament.
- Put you filament in a plastic bag with silica gel and leave the bag for a few days.
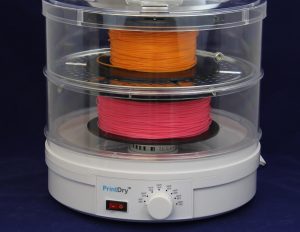
Optionally you can buy specialized products for storing your filament: PrintDry Filament Dryer. It’s a handy tool that is your investment worth if you plan to buy a lot of hygroscopic filament.
Storing
You can go as easy as storing your filament in an airtight plastic bag or container with silica gel packets. Vacuum sealed bags are also an option.
If you really want a sophisticated solution you can make yourself a specially modified container that stores the filament and has the possibility to print from it as well. Click for the tutorial HERE.

Next post
I will cover how to build your own 3D printer (part 1)